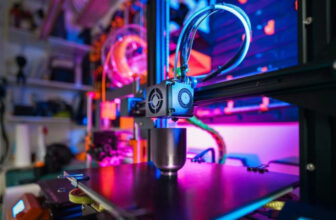
Do you regularly clean your 3D printers after purchasing them? How do you maintain them? In fact, the equipment is like our own bodies; proper maintenance and minimizing damage will definitely increase its lifespan. Today, we’ll teach you the correct cleaning and maintenance methods. We recommend saving this information, as it’s useful for all 3D printers.
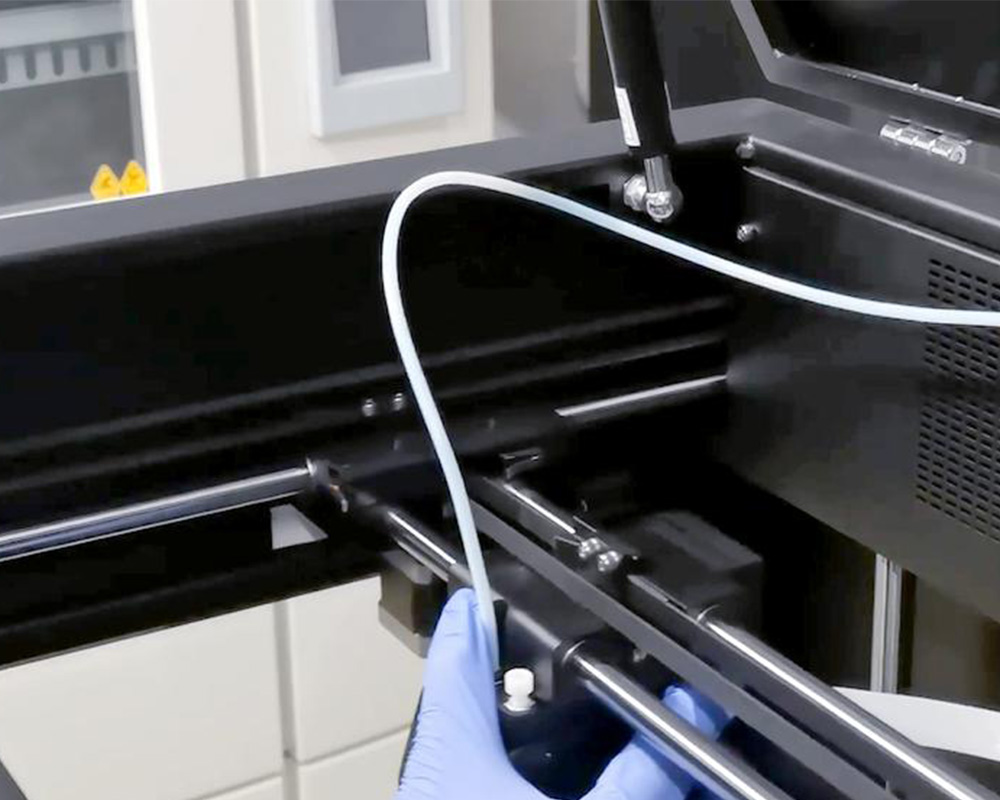
Part 1. Cleaning the Guide Rails
The tools we use to clean the X and Y axis guide rails are [kitchen paper + alcohol]. Wear rubber gloves.
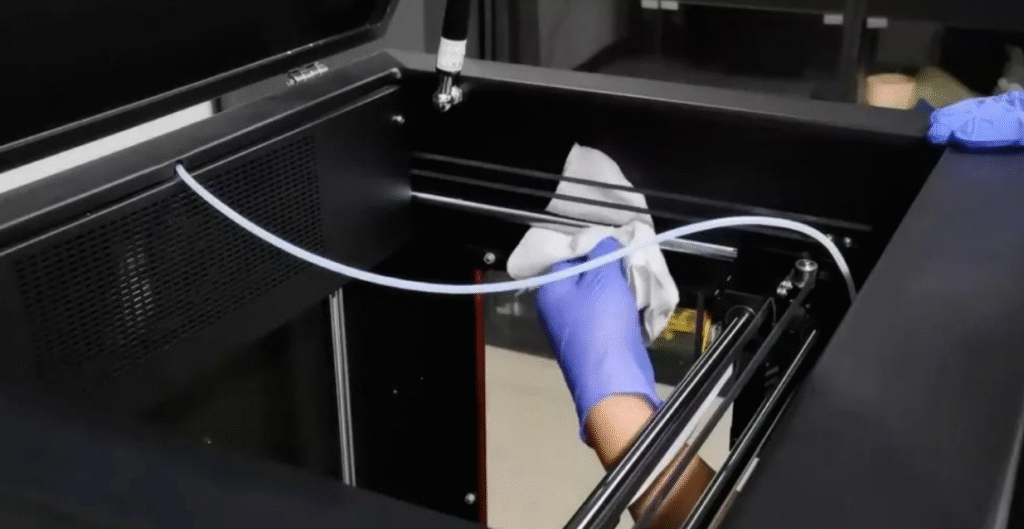
Spray alcohol onto the kitchen paper and wipe the guide rails, moving the print head to one side.
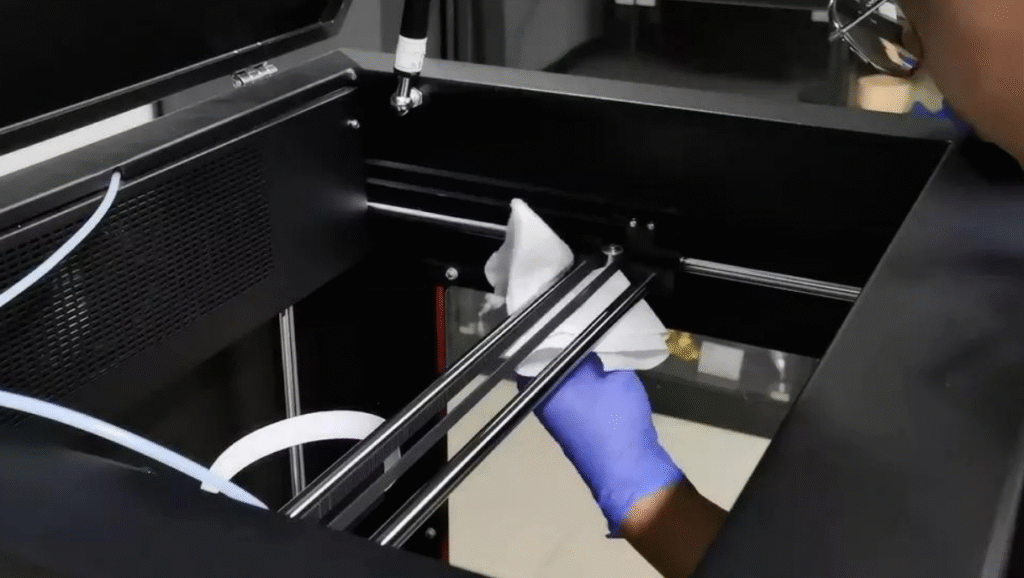
Then move the print head to the other side to wipe other parts of the guide rail.

If you use the printer frequently, we recommend wiping the guide rails once a month. If you don’t use it often, wipe them every two months.
Next, wipe the Y-axis, remembering to wipe both sides!
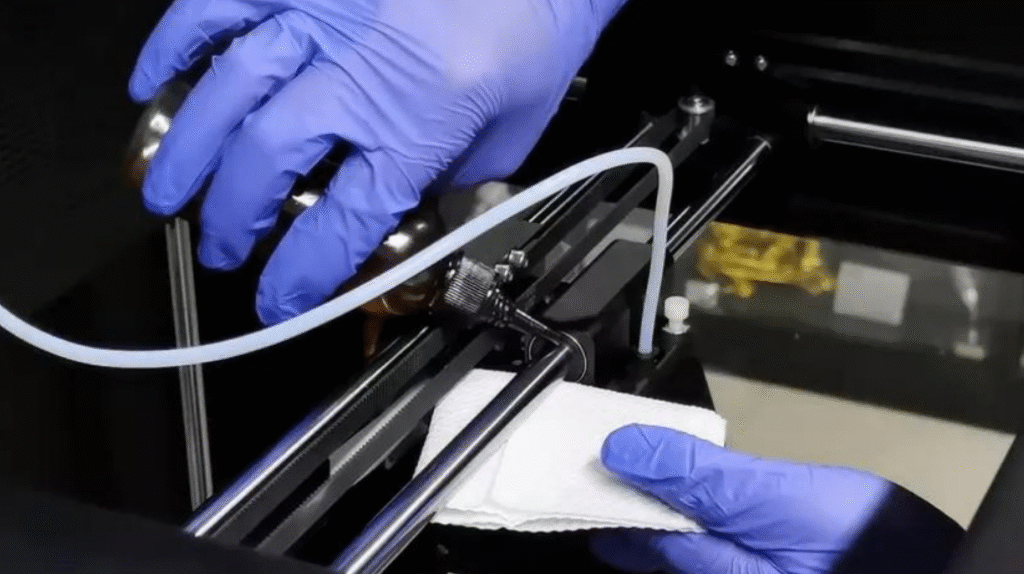
After cleaning everything, move the print head to the center position and apply lubricant to both the X and Y axis bearings. Then, slowly slide the print head and X-axis back and forth a few times to ensure the lubricant is evenly distributed on the guide rails.
Part 1: Cleaning the X and Y axis guide rails is complete!
Part 2: Cleaning the filament drive wheel
Before cleaning the filament drive wheel, reset the printer. Press and hold the Z-axis down arrow and the X-axis right arrow for 4 seconds to move the platform and print head to the center position, then turn off the printer.
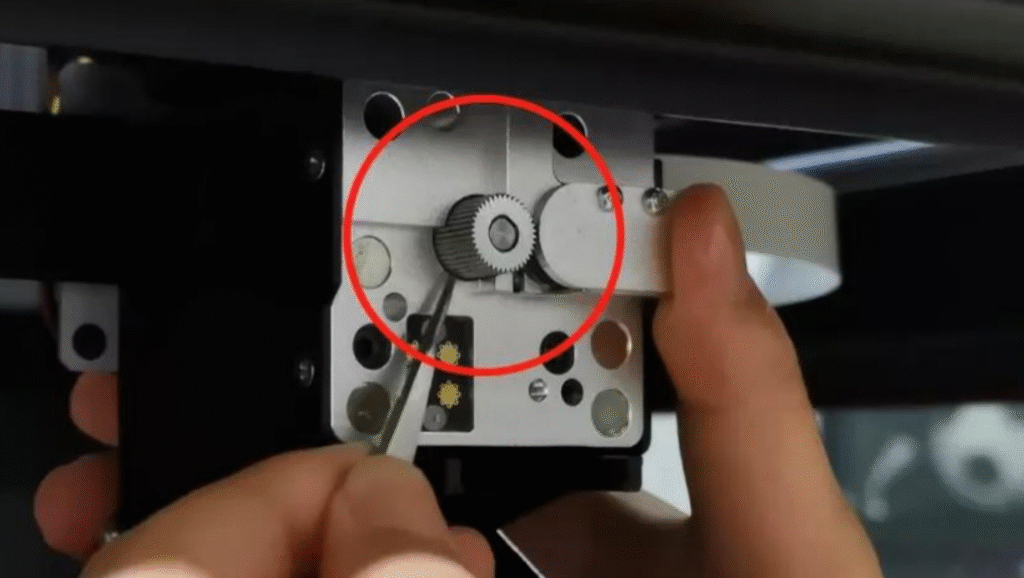
Pull down the print head protective cover and unscrew the quick-release block fixing screw. Remove the quick-release block, and you will see the filament drive wheel.
I rotated the wire feed wheel by hand and used tweezers to gently scrape away any residual powder from the gear teeth of the wire feed wheel, cleaning the entire area around it.
Part 3. Equipment Cleaning
The third part is cleaning our 3D printer. Here, we also use a non-woven cloth for cleaning. Spray some alcohol onto the cloth to wipe down the equipment. Alcohol is a good organic solvent that dissolves stains without causing short circuits in the equipment. If the equipment is used frequently, clean it once a week; if not used frequently, clean it every two weeks.
After each print, there will inevitably be waste material and dust accumulating under the print platform. If you don’t clean it every time, the accumulated waste will become even more significant. To avoid affecting the printed models, the area under the platform must also be cleaned. A soft-bristled brush can be used to clean away the waste material and dust.

It’s best to use a combination of alcohol and a non-woven cloth to wipe away dust from the inside of the device. Absolutely do not use a damp cloth, as water seeping into the motherboard can cause a short circuit.
It is recommended to clean the platform glass plate of the 3D printer with clean water every two weeks. When cleaning, first soak the surface of the glass plate with water to soften any adhesive residue.
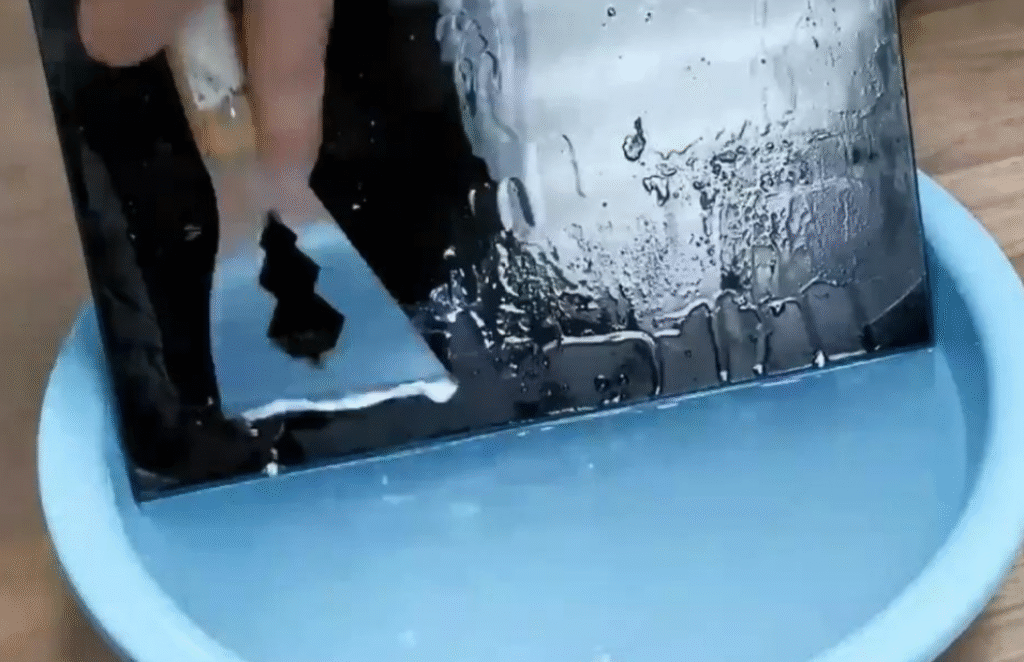
Then use a scraper to scrape off the softened adhesive from the platform.
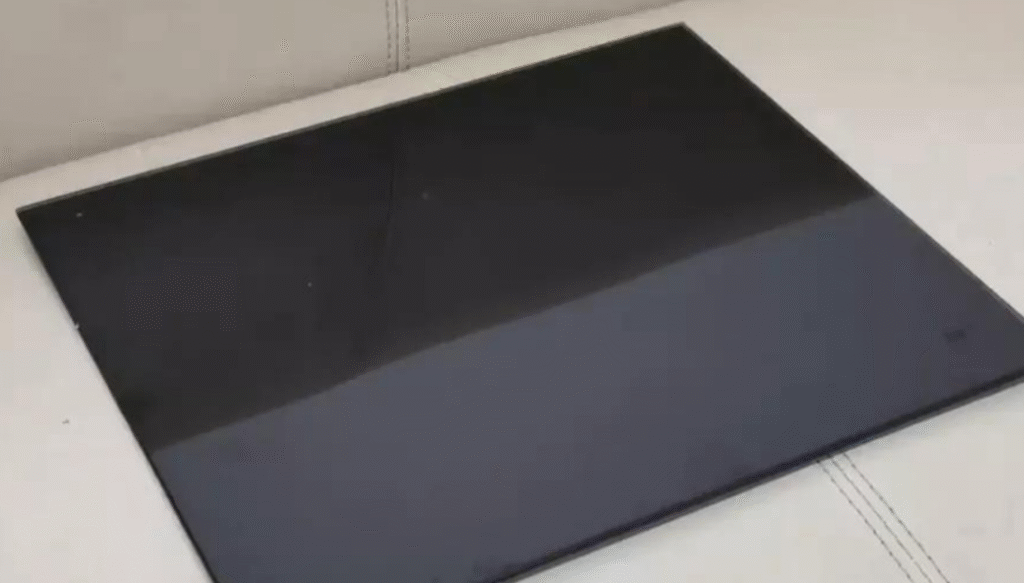
After scraping off the adhesive, wipe the water off the glass surface with a non-woven cloth. Then let it sit and wait for the surface water to completely dry. Once dry, reinstall the cover plate.
These are basic equipment maintenance procedures. Regularly clean and wipe the feed filaments to prevent unnecessary damage to the printed model.
Okay, that’s all for today’s cleaning guide. Did you remember everything?